Well prabaly the most important part is, choosing the right tomatoes for "Seed Saving".
There are a few things to keep in mind when deciding which tomatoes to use for seed saving:
* They should be from "Heirloom" varieties. "Hybrid" tomatoes won't come true from seed, so if you save seed from a hybrid and plant it, you will get tomato plants, but there's no way of telling whether the tomatoes will be any good or if you will even get the same tomato?
*They should be fully ripe, but not over-ripe.
* They should be the best-looking tomatoes on your plant. When you save seeds, you want to save from those fruits that have the very best quality.
 |
| Photo by "The Redeemed Gardener" |
Good tomatoes = good seeds = really good tomatoes next year!
So here is a step by step on this really simple process.
1. Choose a ripe and the most perfect tomato you have on the healthiest plant you had all season.Choose it off the plant that produced the biggest yield and with the least amount of problems.Remember, you will be getting the same plant as the fruit comes from next year.
2. Cut it open, right through the middle!
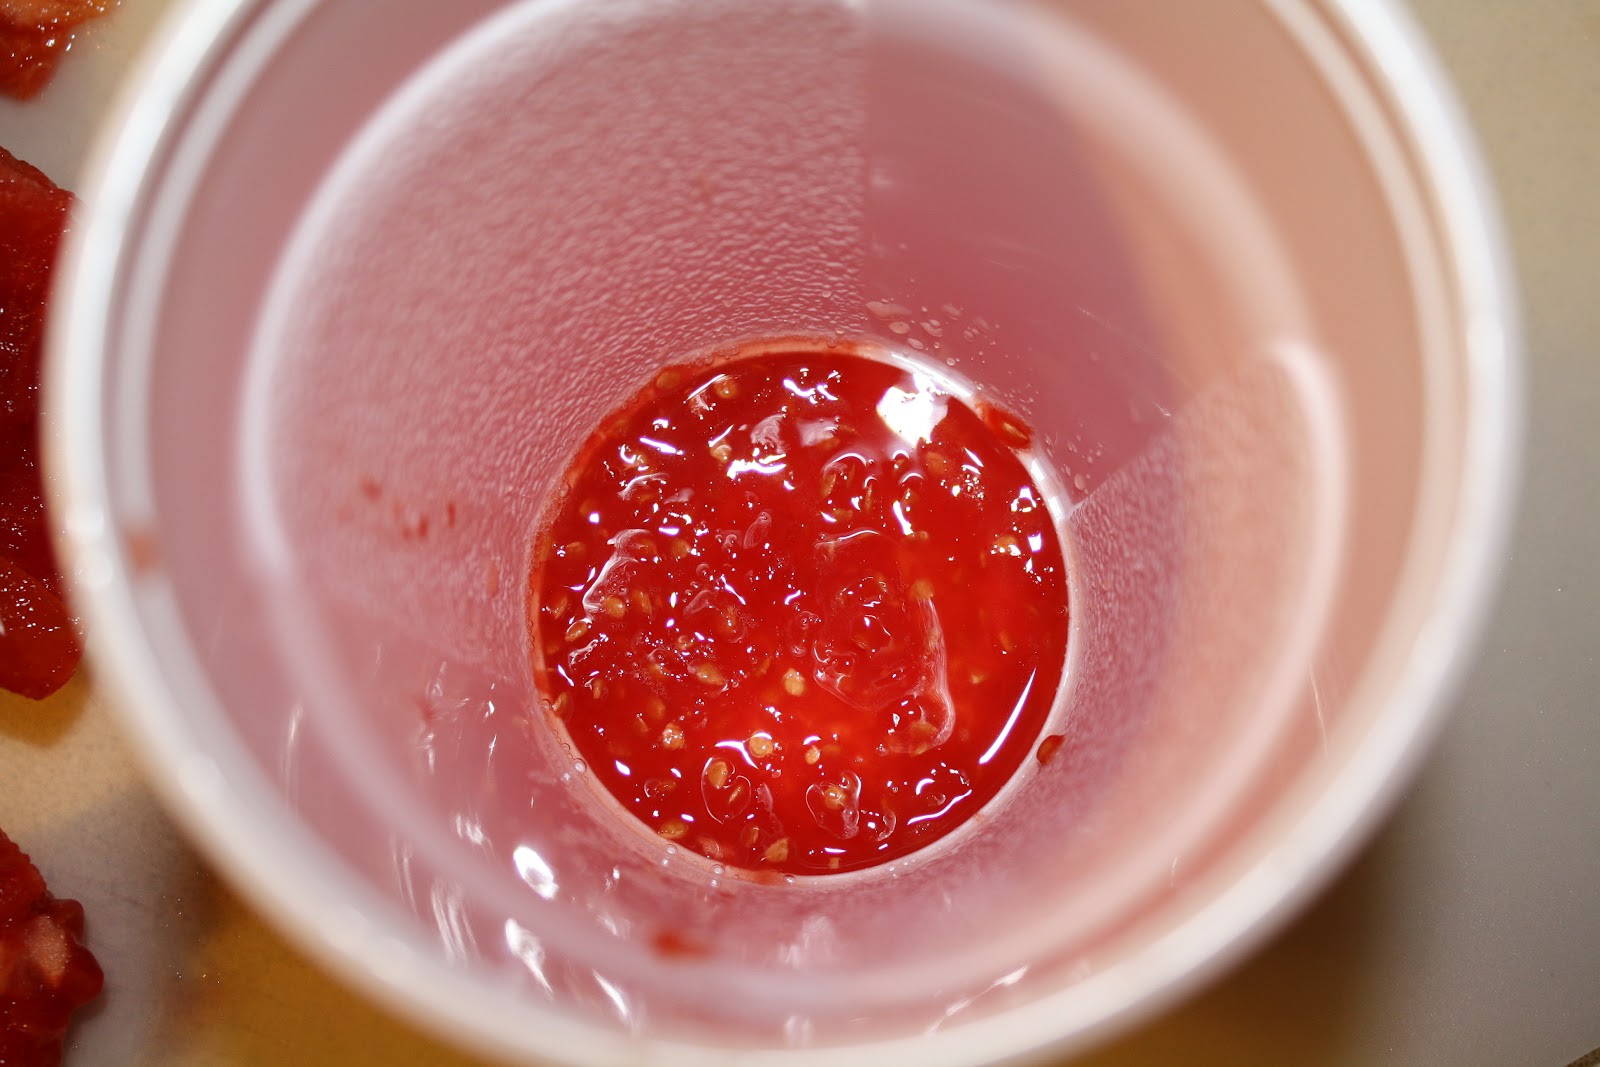
3. Squeeze the seeds, "gunky" stuff, out into a small cup or jar.
4. Cover the seed gunk with two to three inches of water.
5. Label your cup so you know which variety of tomato you saved seeds from.
6. After about three days, white mold will start to form on the surface of the water. This means that the gel or "gunky" stuff, lol, on the seeds has dissolved.
 |
| Photo by "The Redeemed Gardener" |
7. Once you see the white mold, pour off the mold, the water, and any seeds that are floating (Remember the post "Sink or Swim" floating seeds are bad - they probably won't germinate next year) You want all of those seeds sitting at the bottom of the cup, they will have a better chance to grow strong, healthy plants next year.
8. After you've poured the mold and bad seeds off, drain your seeds in a fine mesh strainer and rinse under running water. It's not a bad idea to stir the seeds around with your fingers to help remove any extra gel that may be clinging to them.
9. Dump your rinsed seeds onto a paper plate that has been labeled with the variety name. The paper plate will wick away the water and help keep seeds from getting moldy, we don't want that!
10. Make sure your seeds are in a single layer on the plate, and set it aside a few days so the seeds can completely dry.
11. Once they're dry, put them in a labeled envelope, baggie, or other container and store in a cool, dry spot.
*A link to help with more in depth question's you may have: Master Gardener's and Organic Gardening (for more related photo's)!
“And we have known and believed the love that God has for us. God is love, and he who abides in love abides in God, and God in him.” 1 John 4:16
Thanks for sharing Clint!
ReplyDeleteThanks so much for this! I was just squirting the seeds onto paper towels to dry out, then putting in the fridge until I was ready to use them. I got some to come up anyway, lol.
ReplyDelete